If your cooktop is frequently malfunctioning, it's important to decide whether cooktop repair or replacement is the better option. When repair costs reach 50% of the price of a new unit, replacing your electric cooktop, gas cooktop, or induction cooktop may be more cost-effective. Our factory-trained technicians will assess your appliance, providing expert advice to ensure you get the most value for your investment.
When to Choose Cooktop Repair
Repairing your cooktop is the best choice when:
The cooktop is relatively new and still in good working condition aside from minor issues.
Problems such as damaged electric coils, igniter issues, or control switch malfunctions are identified and can be fixed affordably.
The cost of repair is significantly less than replacing the appliance.
By opting for cooktop repair services, you can extend the life of your kitchen appliance and maintain seamless functionality.
When Replacement is More Cost-Effective
Replacing your cooktop may be necessary if:
Repair costs approach or exceed 50% of the price of a new cooktop.
Your gas burners, coil elements, or burner caps frequently fail to work.
The unit is outdated and lacks modern features like energy efficiency, precise temperature control, or indicator lights.
A new cooktop installation can enhance your cooking performance, reduce energy consumption, and add convenience with advanced technology.
How Our Technicians Help You Decide
When you call us for service, our certified technicians will:
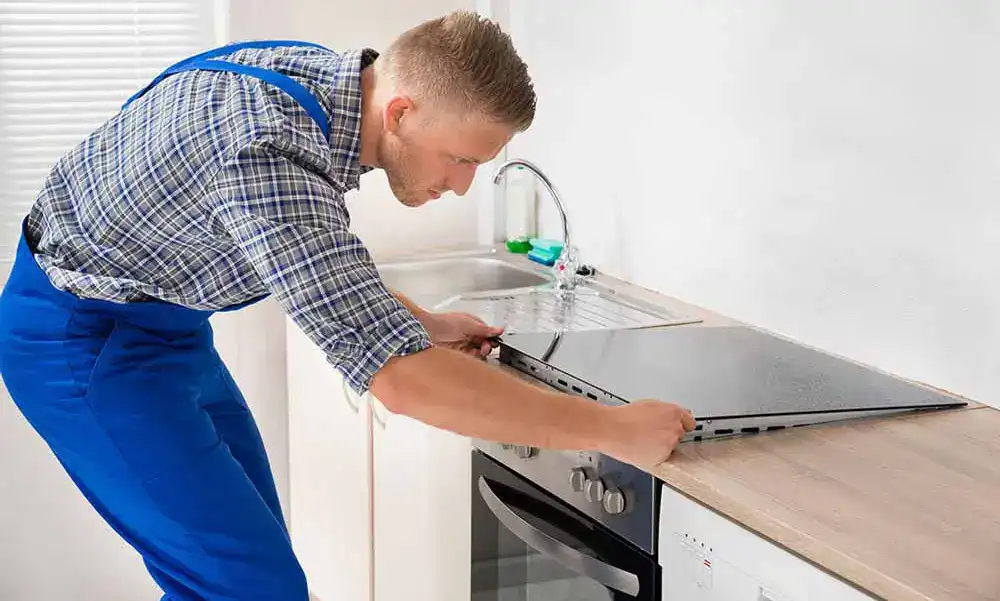
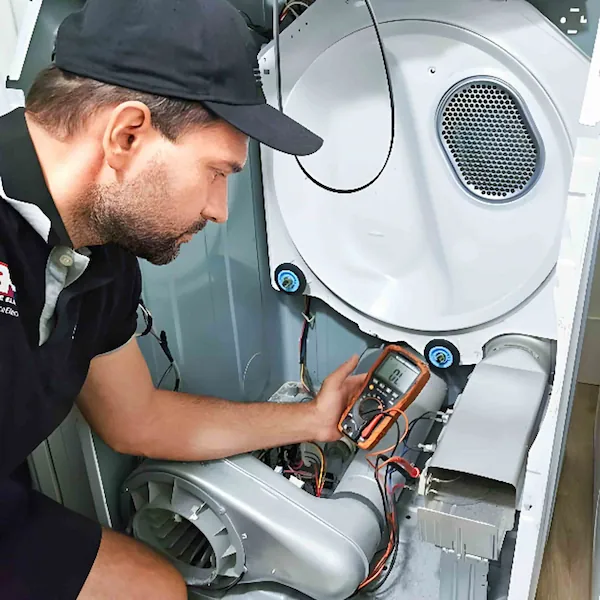
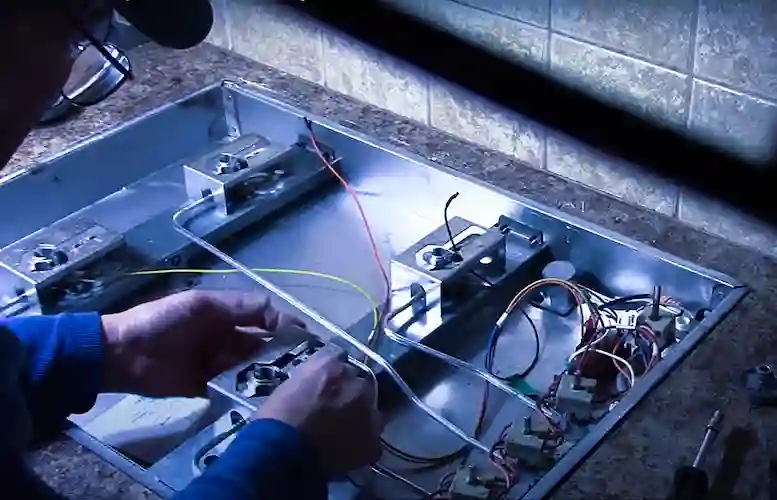
Conduct a comprehensive inspection of your cooktop, including burner openings, control panels, and power cords.
Provide a transparent, upfront estimate for cooktop repair costs, including parts and labor.
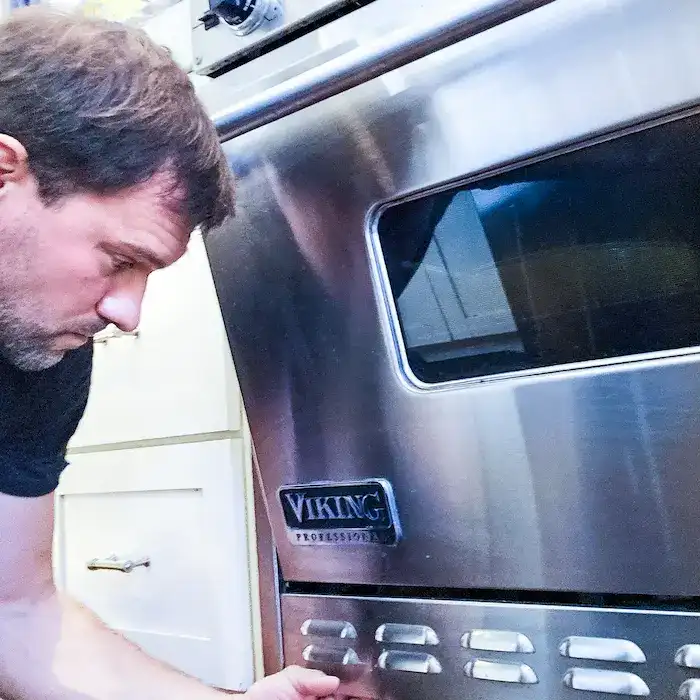
Discuss your cooktop brand, age, and condition to determine if a replacement is warranted.
Offer unbiased recommendations based on best practices to ensure your kitchen appliances serve you efficiently.
Contact Us for Cooktop Repair Services
Whether you have an issue with electric cooktops, gas cooktops, or induction cooktops, our cooktop repair expertsare here to help. We specialize in troubleshooting common problems, such as heating irregularities, damaged burner caps, and unresponsive controls, to restore your appliance's performance.
Don't let a faulty stovetop disrupt your kitchen routine. Contact Same Day Appliance Repair today for professional advice and fast, reliable service. Let us handle your cooktop repair or replacement to keep your kitchen running smoothly.